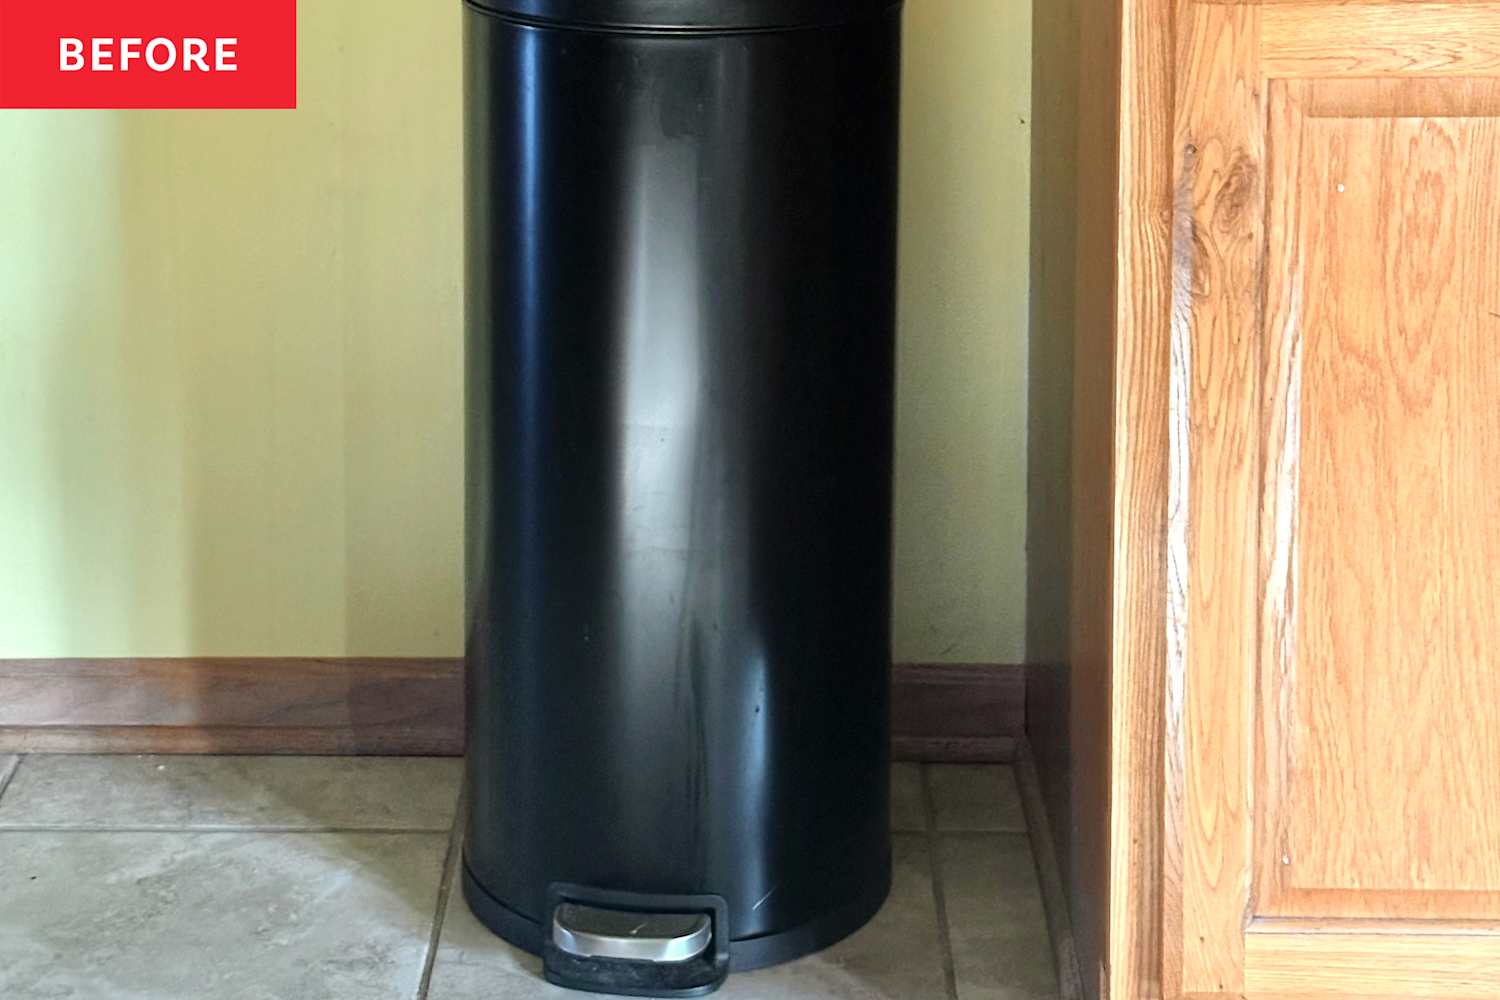
"I recently moved into a new home with my husband and daughter, which has brought all of the normal challenges associated with moving ... plus some unexpected ones, like what to do with all the stuff the previous owner had left. Among the many (many, many, many) items, were six seemingly brand-new metal trash cans. We decided to keep them, but I wasn't really a fan of their '90s-but-not-in-a-good-way aesthetic."
"The most important part of this process, as with all painting projects, is the prep! Put the work in early on, and you'll be rewarded with better results. Here's how I painted my trash can. 1. Scuff-sand the surface. I prepared the surface by using a 220 sanding block to lightly scuff up the surface - just enough to knock down the glossy finish. Next, I wiped off the can with the dust cloth and cleaned it with surface spray."
A homeowner kept six seemingly brand-new metal trash cans but disliked their '90s aesthetic. The makeover prioritized preparation: lightly scuff-sand with a 220 sanding block to knock down gloss, wipe with a dust cloth, and clean with surface spray. A metal-specific spray primer was shaken well and applied in about three light coats, allowing at least 15 minutes drying between coats and preventing the lid from sealing when wet. After a two-hour cure, painter’s tape was used to block off stripe patterns, beginning with a piece down the middle of the lid and continuing down the front.
Read at Apartment Therapy
Unable to calculate read time
Collection
[
|
...
]